Lesson 4: Pottery with air dry clay
Thursday, November 9th 2023
Teacher: Zoe
Assistants : Abhi & Trinity
LESSON OVERVIEW
BIG IDEA
The exploration of colors, textures, and shapes for the pursuit of self-expression.
DESCRIPTION
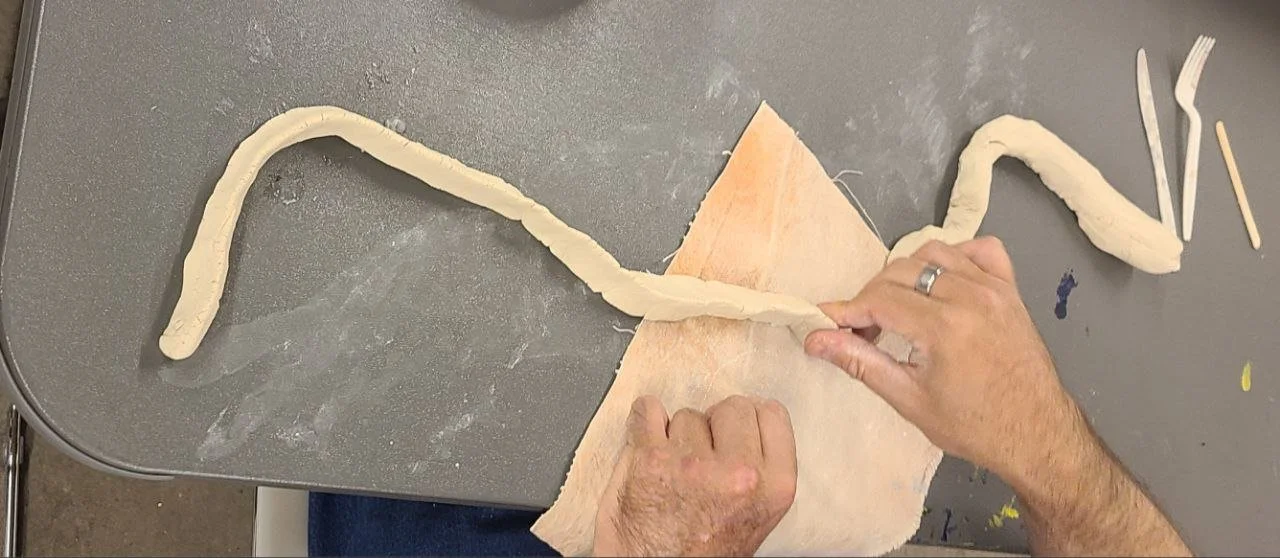
Students will learn how to use air-dried clay to explore pottery and hand-building skills to create pots made from the coiling technique or pinching technique. They will also learn how to add texture to bear parts using various tools like rollers, forks, sticks, or other found objects.
ESSENTIAL UNDERSTANDING
The big idea of this project is that students will continue to explore their sensory skills to create three-dimensional objects using air-dried clay.
INTENDED OUTCOMES
Students will learn to create three-dimensional objects using air-dried clay and learn to texture them so that they can be ready to be decorated in the next class.
Students will become familiar with pottery techniques like coiling and pinching to create clay pots.
NEW VOCABULARY
· Pottery
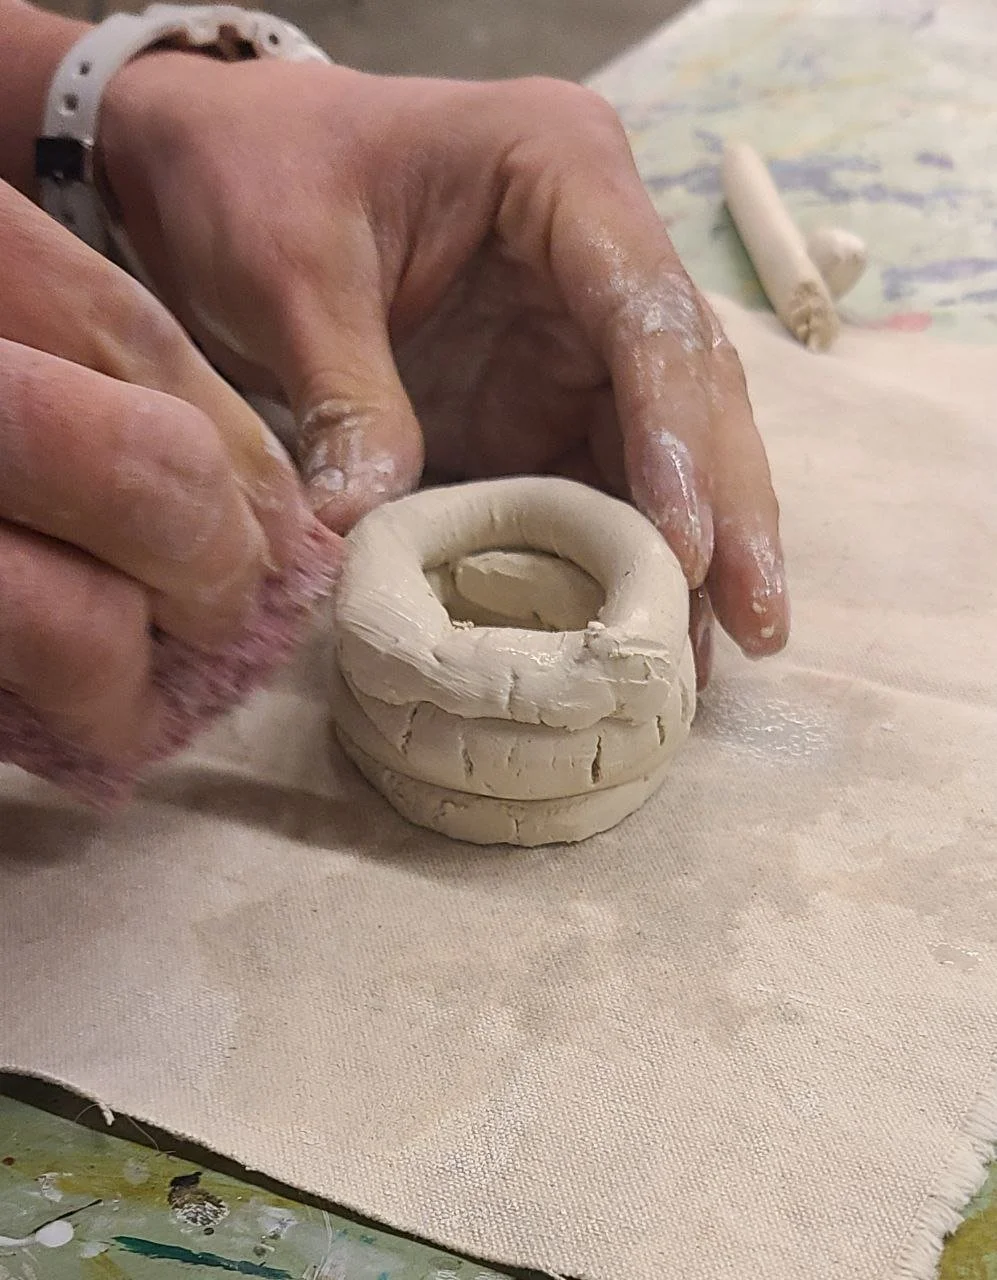
· Pinching
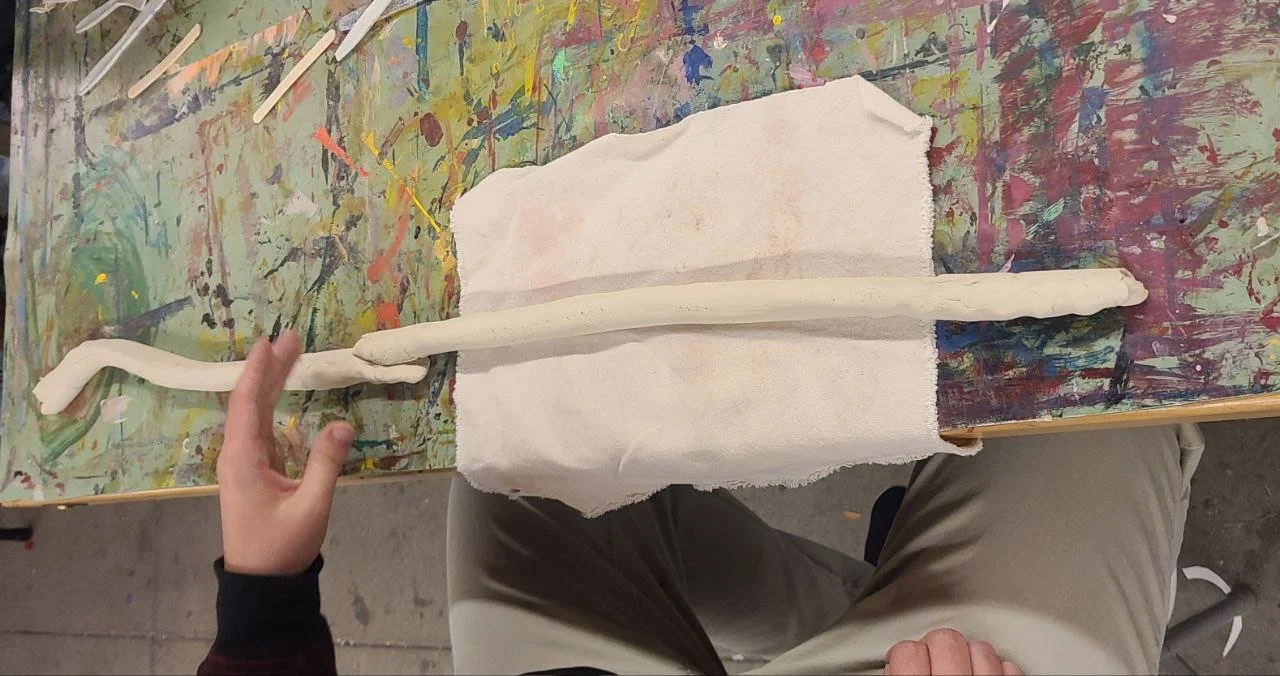
· Coiling
· Slip and score.
OVERVIEW
For this lesson, students will learn how to use air dry clay to create three-dimensional pinch, coil pots based on the shapes they are interested in.
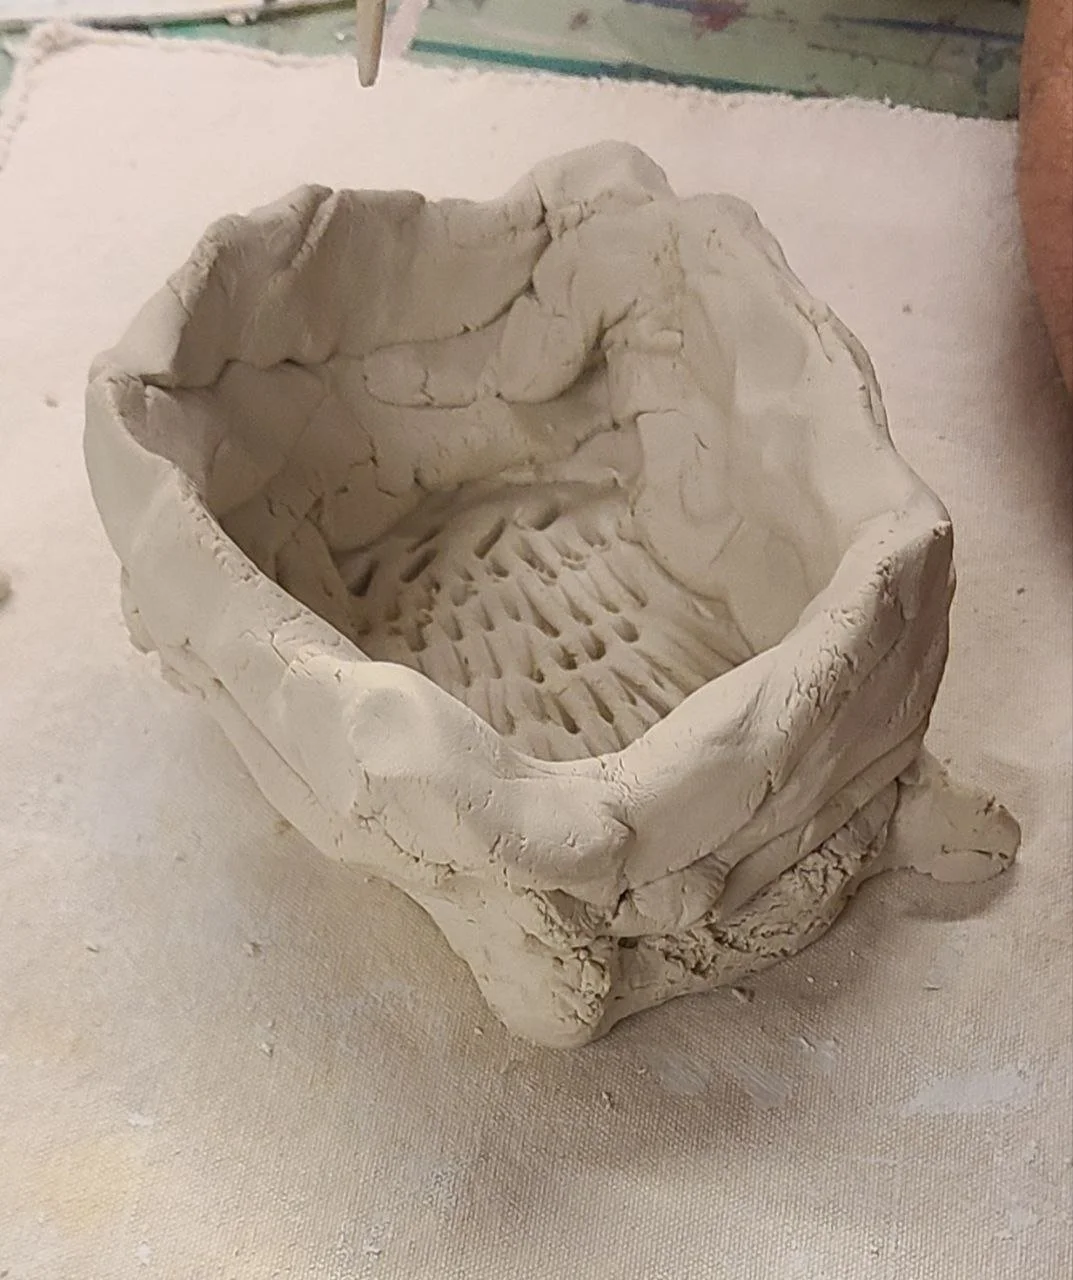
TEACHER EXAMPLE
ENGAGEMENT
As soon as the students sat down, they all started sharing memories of when they last used clay. Some of them had used clay sometime in middle or high school. This brought back a lot of memories for some of the students. Some had never used anything like air-dried clay so they were very curious and wanted to learn how it worked. Once clear instructions and demonstration were provided everybody stayed engaged and persisted all throughout the lesson despite the room temperature and the airflow continuing to dry the clay faster than we anticipated it to dry. It was good to have students with some experience at each table and assistant teachers who continued to demonstrate how coiling and bringing worked so that the students stayed engaged.
WHAT WENT WELL
· Having clear teacher examples helps the students get a good idea of what they are supposed to do.
· Continuing to help with pinching and coiling demonstrations helped students to stay motivated.
· Not limiting the class to just copying the teacher's example helped students stay creative and enjoy the process.
· Enough clay and even having extra help with the smooth flow of the class.
· Helping the students understand that these parts will be painted and decorated in the next class kept them motivated till the finish of the project.
IMPROVEMENTS
· Better demonstration on how to make coils would have been beneficial.
· Adjusting the room temperature to be warmer before class would have helped with the clay not drying so fast
· Having drawing material or other projects ready for the ones that finished early could have helped the ones that finished early.
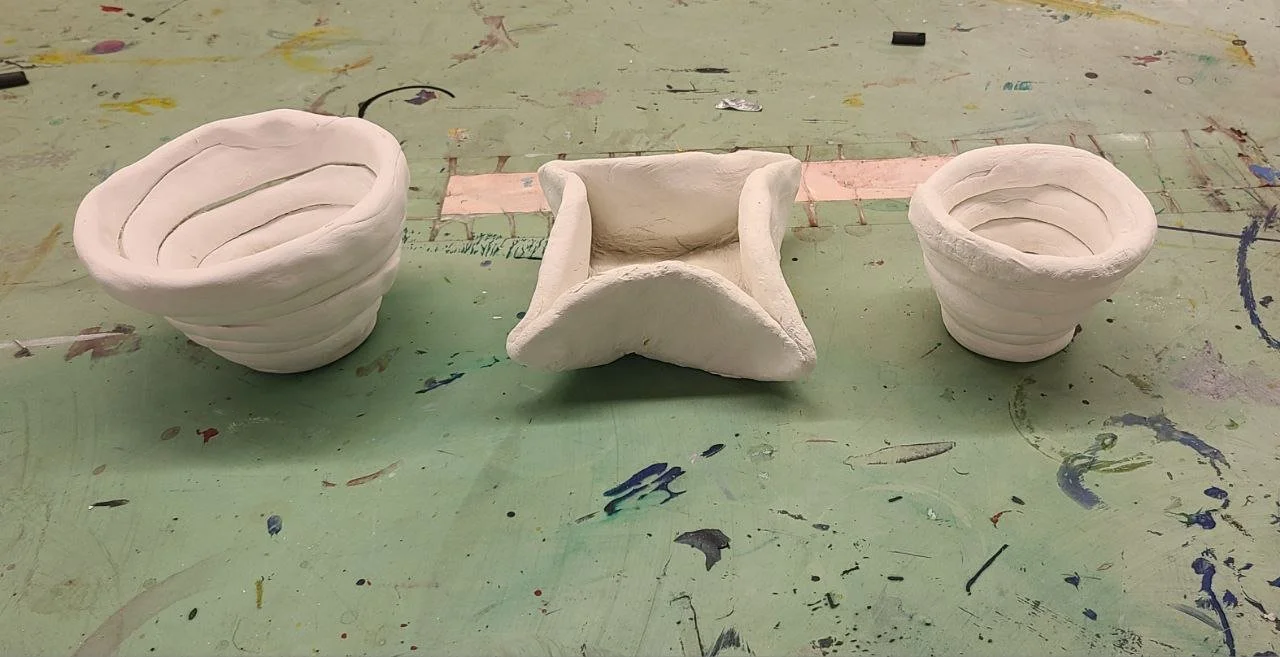
Student Work
Reflections
One by one as the students started trickling in I started asking them if they were familiar with clay. Some of them showed up early so it was a good time to have conversations related to their experience with clay and I found out that many of them have beautiful memories from many years ago of working with Clear in their school years which for some of them was 20 years or more ago. Everyone was excited to start working with clear. We had made sure that there was more than enough clay for every student to create with. Zoe gave very clear demonstration on how to do coiling and pinching to create pots. Students started working right away and we were excited to create their thoughts. It was interesting to observe how despite the teacher's examples every student created unique versions of their pots. I wanted to make sure that all the students were able to use their motor skills to create their parts, so I kept a lump of clear in my hands and kept demonstrating at each table how to keep moving forward with their technique whether it was pinching or if it was coiling. I realized that because of the temperature in the room and the flow of air through the when the clay was drying faster than normal. I am glad that we had kept water in little bowls for every student which really helped them keep declare moist. My concern became really related to people using too much water and one of the students used too much water, so I had to help that student dry their work and encourage them to just use the sponge to keep building their project. The vessels started taking form quickly and the next thing was to show them how to create various textures on their parts. Everyone enjoyed putting various marks on their pieces to create texture. It was interesting to observe that even some of the students who regularly struggled with getting ideas for their work and staying motivated, had no issues with finishing their work. The only issue that I observed in this class was that a couple of students finished their work before we anticipated that and despite us offering more clay to create other things, they wanted to switch over to paper and markers. It would have been better to have those items ready as well, but we will make sure that next time we will have other options as well in case people do finish early. Since we were dealing with fairly messy materials it was good to give enough warnings for a time to finish and every single student finished on time, and we had enough time to stack all the parts for them to dry properly so that we would be ready for the next class. We explained that we would continue to work on these pots and add colors and other decorative materials to decorate our pots in the next class.